
Inspite of rice being very dear to many Indian hearts, this is one recipe that you are very likely to enjoy instead of rice. Personally, this is my favorite healthy alternative to Basmati rice.
'Cracked wheat' has a soft texture when cooked and also has an interesting "nutty" flavor. To make cracked wheat -raw, whole wheat kernels are crushed down into smaller bits. By including this outer portion of the wheat - bran and germ, cracked wheat comes along with even more benefits than whole grain.
Being naturally low in fat and absolutely free of saturated fats, cholesterol and trans fat, this food is also a great way to help maintain a consistent weight loss regimen.
So let me share this wonderful Lapsi Biryani recipe with all of you and help you introduce whole grains in a delicious way into your diets.
Serves: 5 to 6 people
Level: Easy
Adapted from: Amhi Sare Khavaiyye (Cookery Show)

Ingredients:
1.5 cups cracked wheat/daliya/lapsi
3 cups water
2 tblsp oil
1 tblsp butter
1 inch cinnamon stick
2 green cardamoms
3 cloves
3 black peppers
1 bay leaf
1/8 tsp cumin seeds
1/2 tsp turmeric powder
1 tsp red chilly powder
1 tsp ginger garlic paste
2 tblsp heaped biryani masala (I used Shan Bombay Biryani Masala)
4 tblsp yogurt, lightly beaten
1 tsp broken cashewnuts (optional)
2 tsp slivered almonds (optional)
1 medium onion, thinly sliced
1 medium potato, peeled and cubed
2 cups assorted veggies
(I used cauliflower, peas, corn, green beans, carrots)
1/2 cup paneer, grated/cubed (Indian cottage cheese)
Salt to taste
Coriander to decorate
Method:
Step 1 - In a pressure cooker pan, heat 2 tblsp oil. Add the cinnamon, cardamoms, cloves, black peppers, bay leaf and cumin seeds. Saute for a few seconds.
Step 2 - Add the onions and saute till they turn light brown. Add turmeric powder, red chilly powder, ginger garlic paste and biryani masala. Stir well. Add the butter. Stir again. Add a few tblsps of water if you think the spices are sticking to the bottom of the pan and burning. Add the beaten yogurt and the cashewnuts and almonds if you plan to use them. Stir well.
Step 3 - Add the lapsi/cracked wheat and mix everything well. Add the assorted veggies, potatoes and salt. Saute for a good 6 - 7 mins. Add the water and stir well. Adjust the salt and red chilly powder. Let the water come to a boil. Pressure cook for 2 whistles or till the cracked wheat is completely cooked. Generally the time taken is the same as you need for cooking rice.
Step 4 - Add paneer into the cooked biryani and lightly mix everything together.
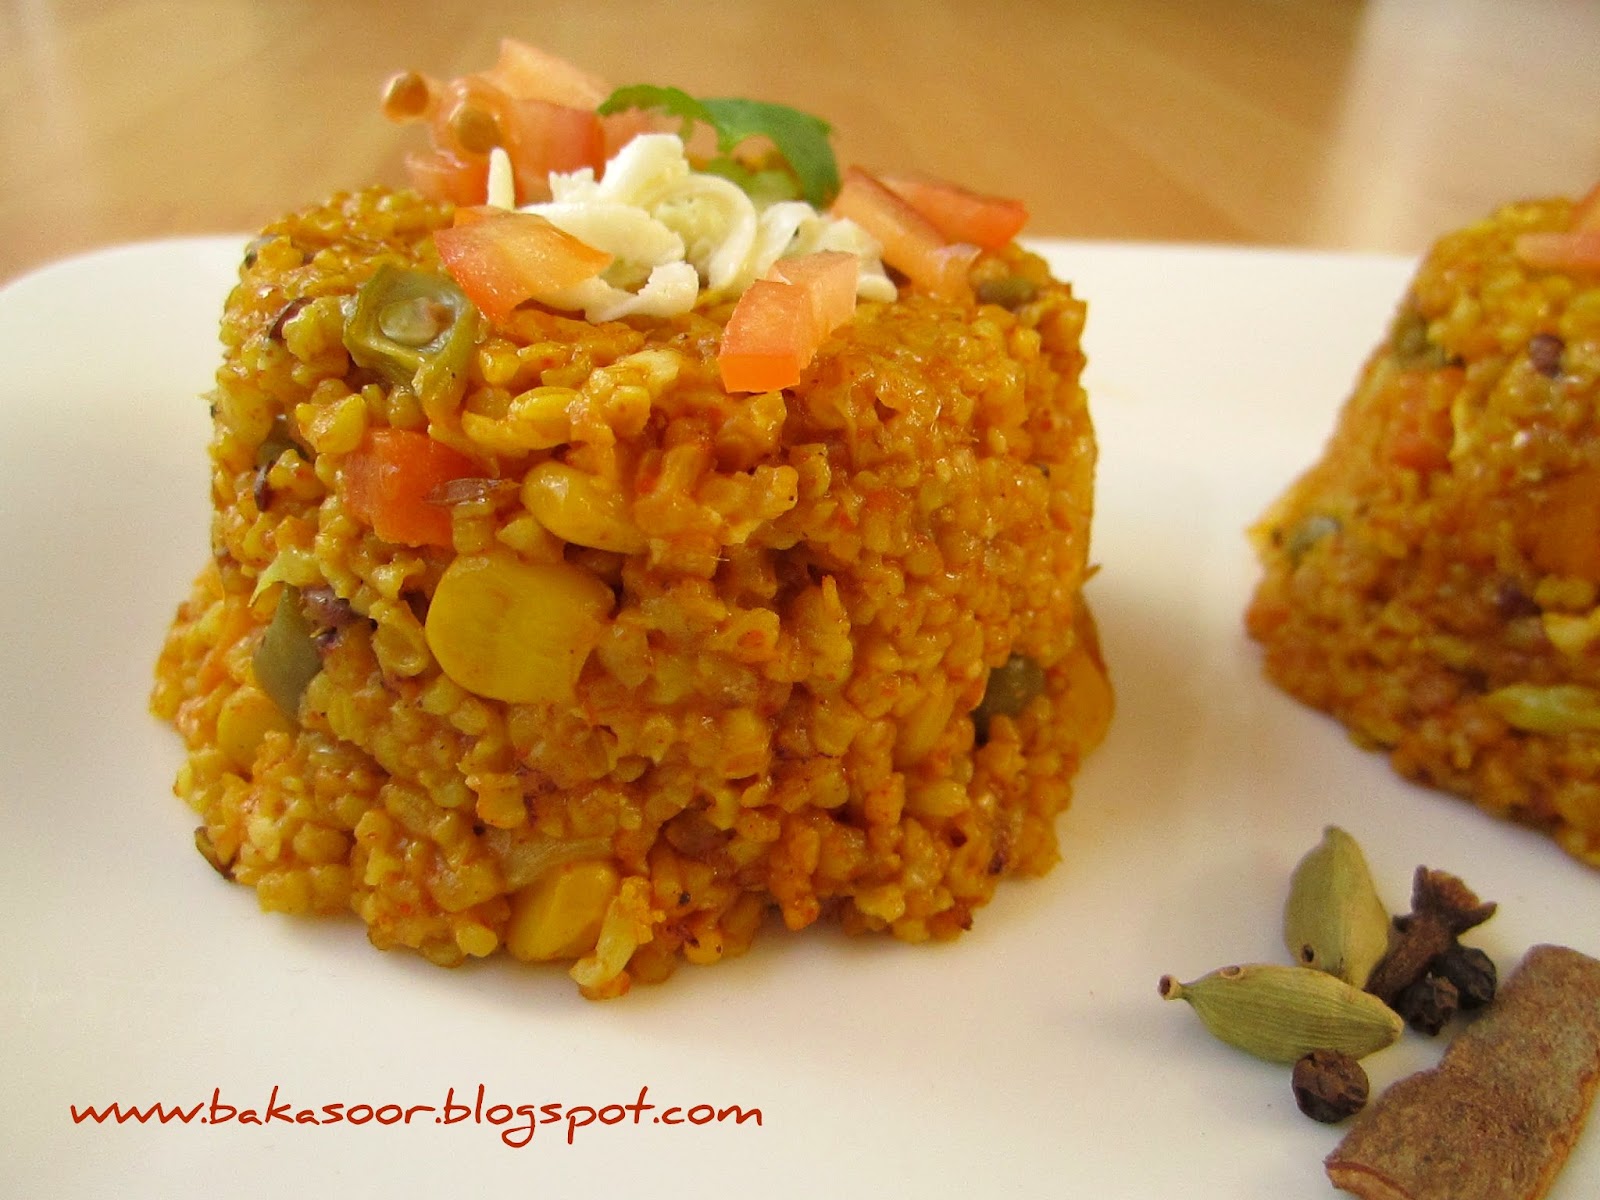
Decorate with coriander, some almonds and grated paneer and serve hot with some raita.

Tips:
Need a few more reasons to include cracked wheat into your diet?
-Cracked wheat is packed with dietary fiber which helps to maintain your entire digestive track on the whole.
-With high levels of iron, magnesium, Vitamin E and B and even some antioxidants to boot, cracked wheat can help prevent fatigue and fend off stress as well as preventing anemia and low blood iron. When put up against the much more processed white rice, it is clear which is the champion for overall nutrition.
Source: Read some more on cracked wheat here!
'Cracked wheat' has a soft texture when cooked and also has an interesting "nutty" flavor. To make cracked wheat -raw, whole wheat kernels are crushed down into smaller bits. By including this outer portion of the wheat - bran and germ, cracked wheat comes along with even more benefits than whole grain.
Being naturally low in fat and absolutely free of saturated fats, cholesterol and trans fat, this food is also a great way to help maintain a consistent weight loss regimen.
So let me share this wonderful Lapsi Biryani recipe with all of you and help you introduce whole grains in a delicious way into your diets.
Serves: 5 to 6 people
Level: Easy
Adapted from: Amhi Sare Khavaiyye (Cookery Show)

Ingredients:
1.5 cups cracked wheat/daliya/lapsi
3 cups water
2 tblsp oil
1 tblsp butter
1 inch cinnamon stick
2 green cardamoms
3 cloves
3 black peppers
1 bay leaf
1/8 tsp cumin seeds
1/2 tsp turmeric powder
1 tsp red chilly powder
1 tsp ginger garlic paste
2 tblsp heaped biryani masala (I used Shan Bombay Biryani Masala)
4 tblsp yogurt, lightly beaten
1 tsp broken cashewnuts (optional)
2 tsp slivered almonds (optional)
1 medium onion, thinly sliced
1 medium potato, peeled and cubed
2 cups assorted veggies
(I used cauliflower, peas, corn, green beans, carrots)
1/2 cup paneer, grated/cubed (Indian cottage cheese)
Salt to taste
Coriander to decorate
Method:
Step 1 - In a pressure cooker pan, heat 2 tblsp oil. Add the cinnamon, cardamoms, cloves, black peppers, bay leaf and cumin seeds. Saute for a few seconds.
Step 2 - Add the onions and saute till they turn light brown. Add turmeric powder, red chilly powder, ginger garlic paste and biryani masala. Stir well. Add the butter. Stir again. Add a few tblsps of water if you think the spices are sticking to the bottom of the pan and burning. Add the beaten yogurt and the cashewnuts and almonds if you plan to use them. Stir well.
Step 3 - Add the lapsi/cracked wheat and mix everything well. Add the assorted veggies, potatoes and salt. Saute for a good 6 - 7 mins. Add the water and stir well. Adjust the salt and red chilly powder. Let the water come to a boil. Pressure cook for 2 whistles or till the cracked wheat is completely cooked. Generally the time taken is the same as you need for cooking rice.
Step 4 - Add paneer into the cooked biryani and lightly mix everything together.
Decorate with coriander, some almonds and grated paneer and serve hot with some raita.
Tips:
Need a few more reasons to include cracked wheat into your diet?
-Cracked wheat is packed with dietary fiber which helps to maintain your entire digestive track on the whole.
-With high levels of iron, magnesium, Vitamin E and B and even some antioxidants to boot, cracked wheat can help prevent fatigue and fend off stress as well as preventing anemia and low blood iron. When put up against the much more processed white rice, it is clear which is the champion for overall nutrition.
Source: Read some more on cracked wheat here!


